How I Edit My Photos and Videos
(No Photoshop or Professional Experience Required)
I don’t have a professional camera, I just use my iPhone. I upgraded to the iPhone 12 when it came out in October 2020, and the camera is phenomenal.
I use VSCO to filter my photos. Once I import the photos you want to edit, I usually follow these few steps:
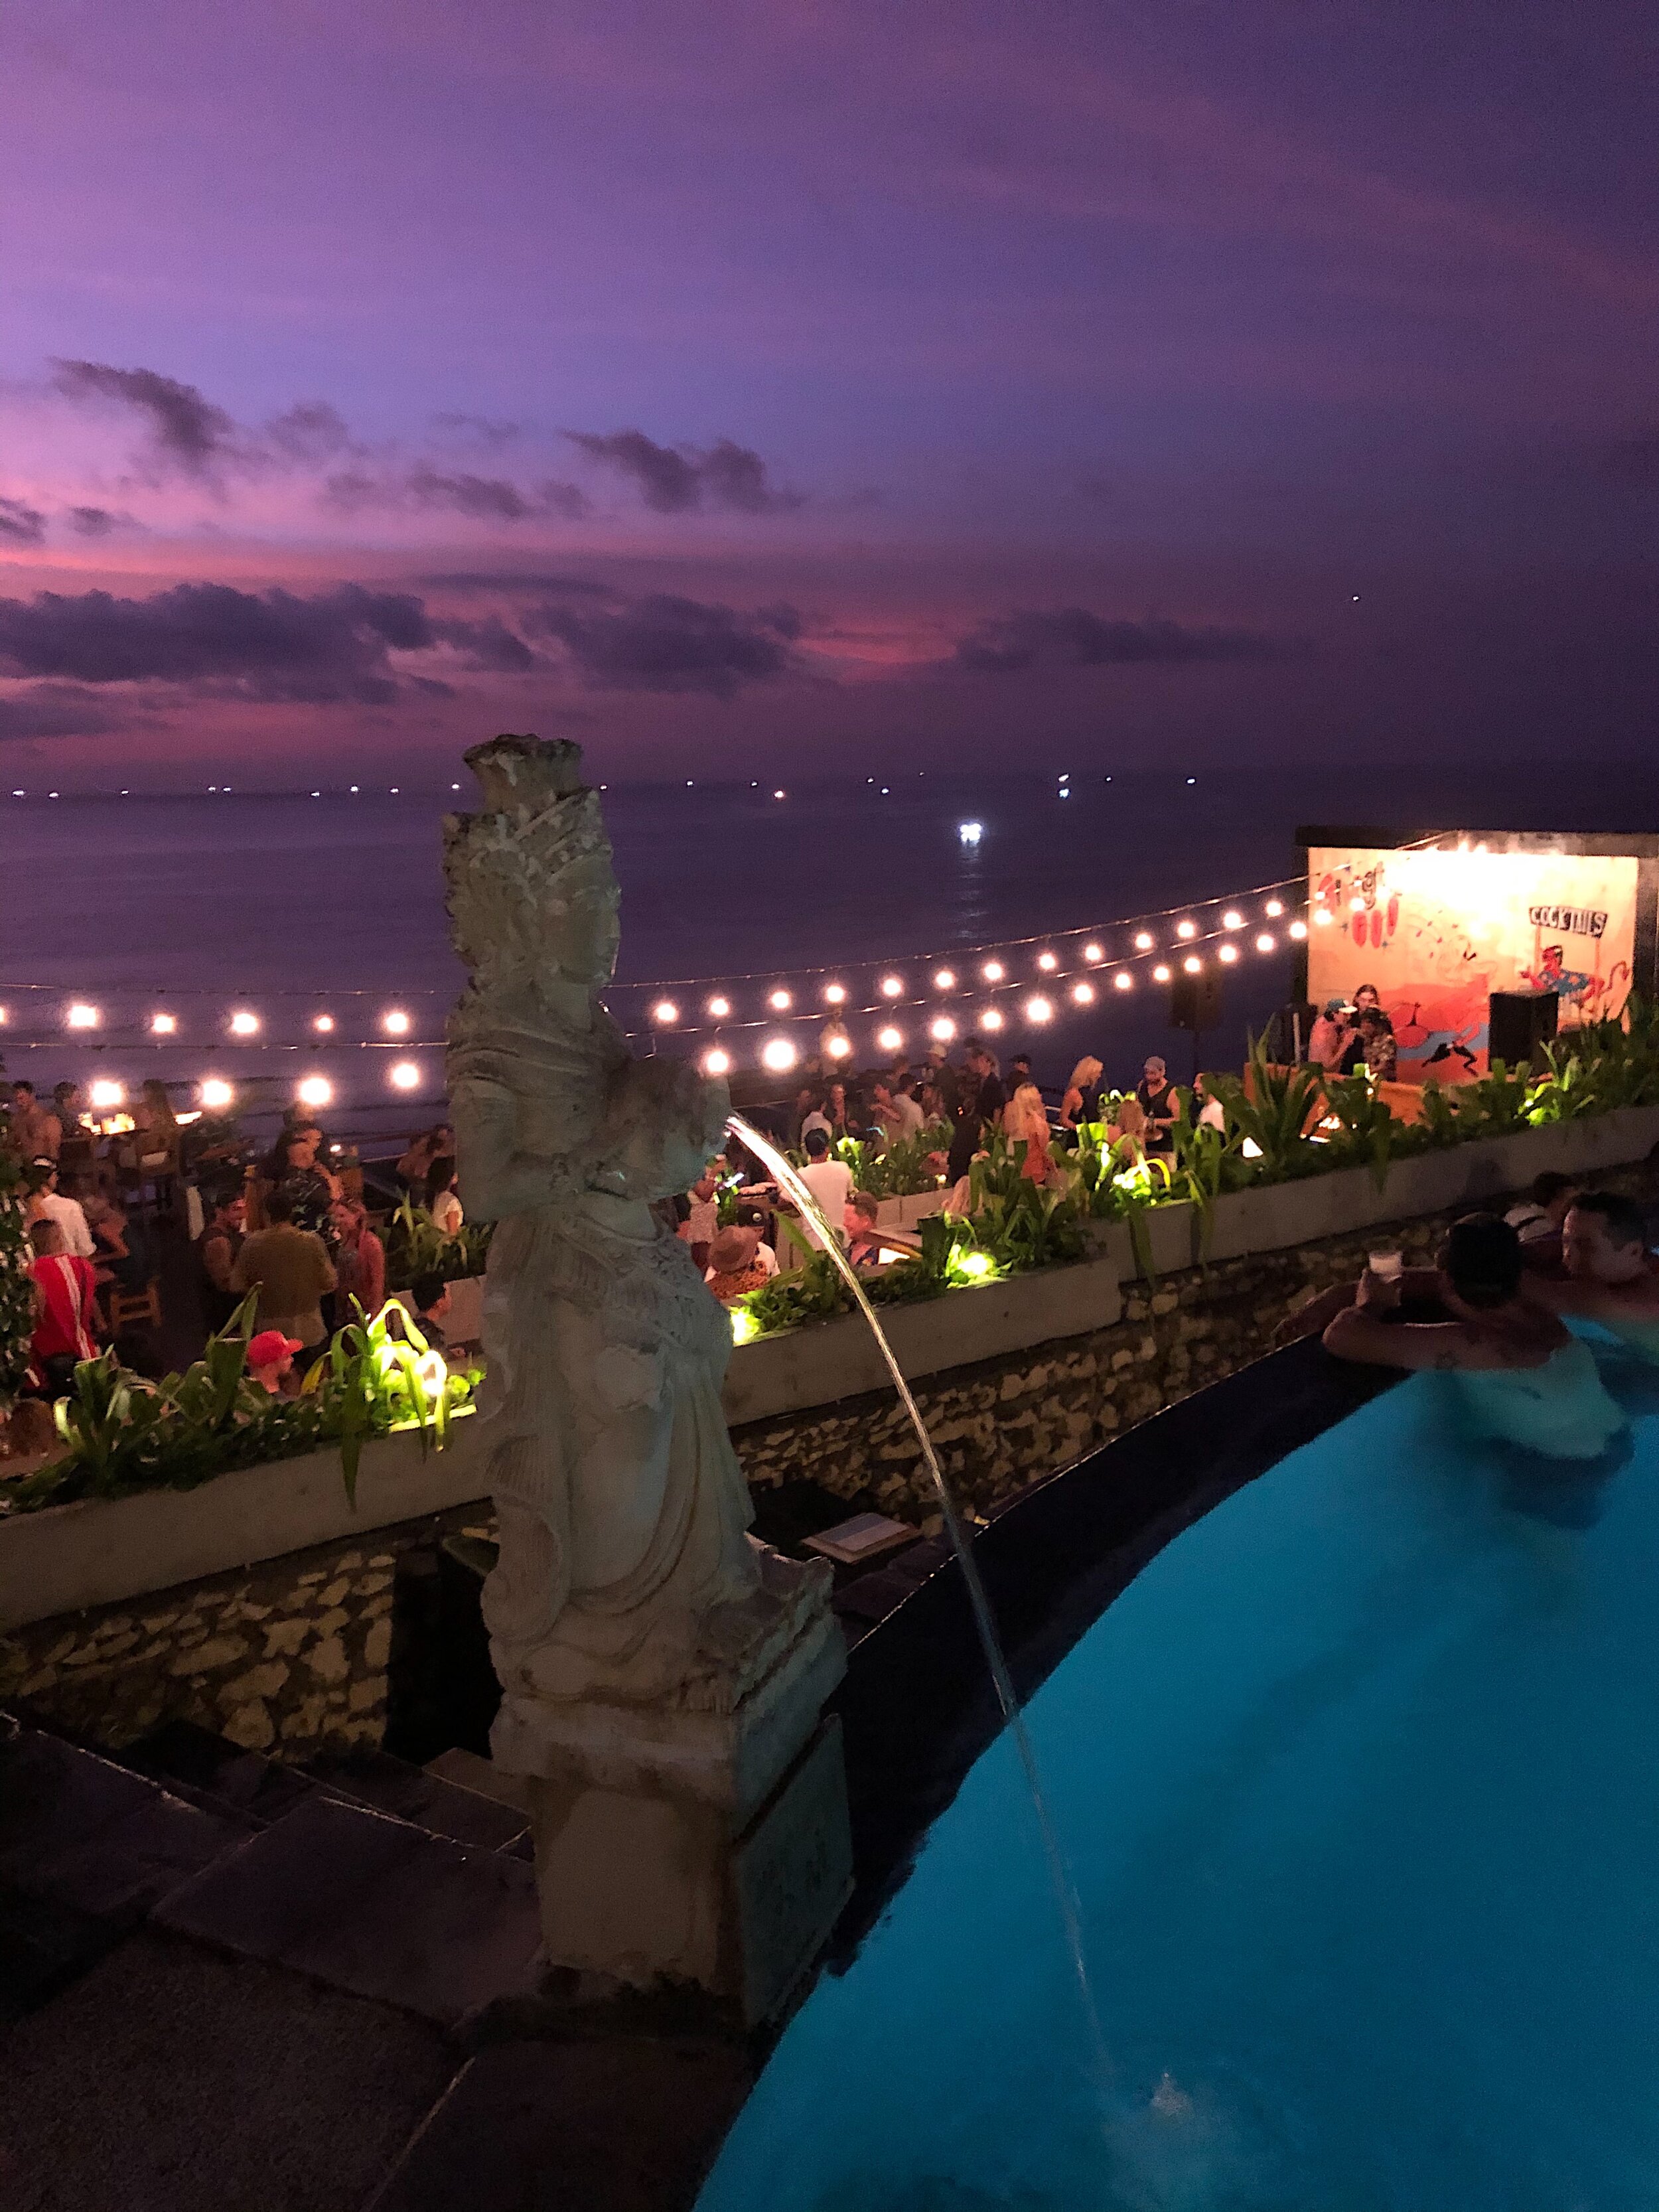
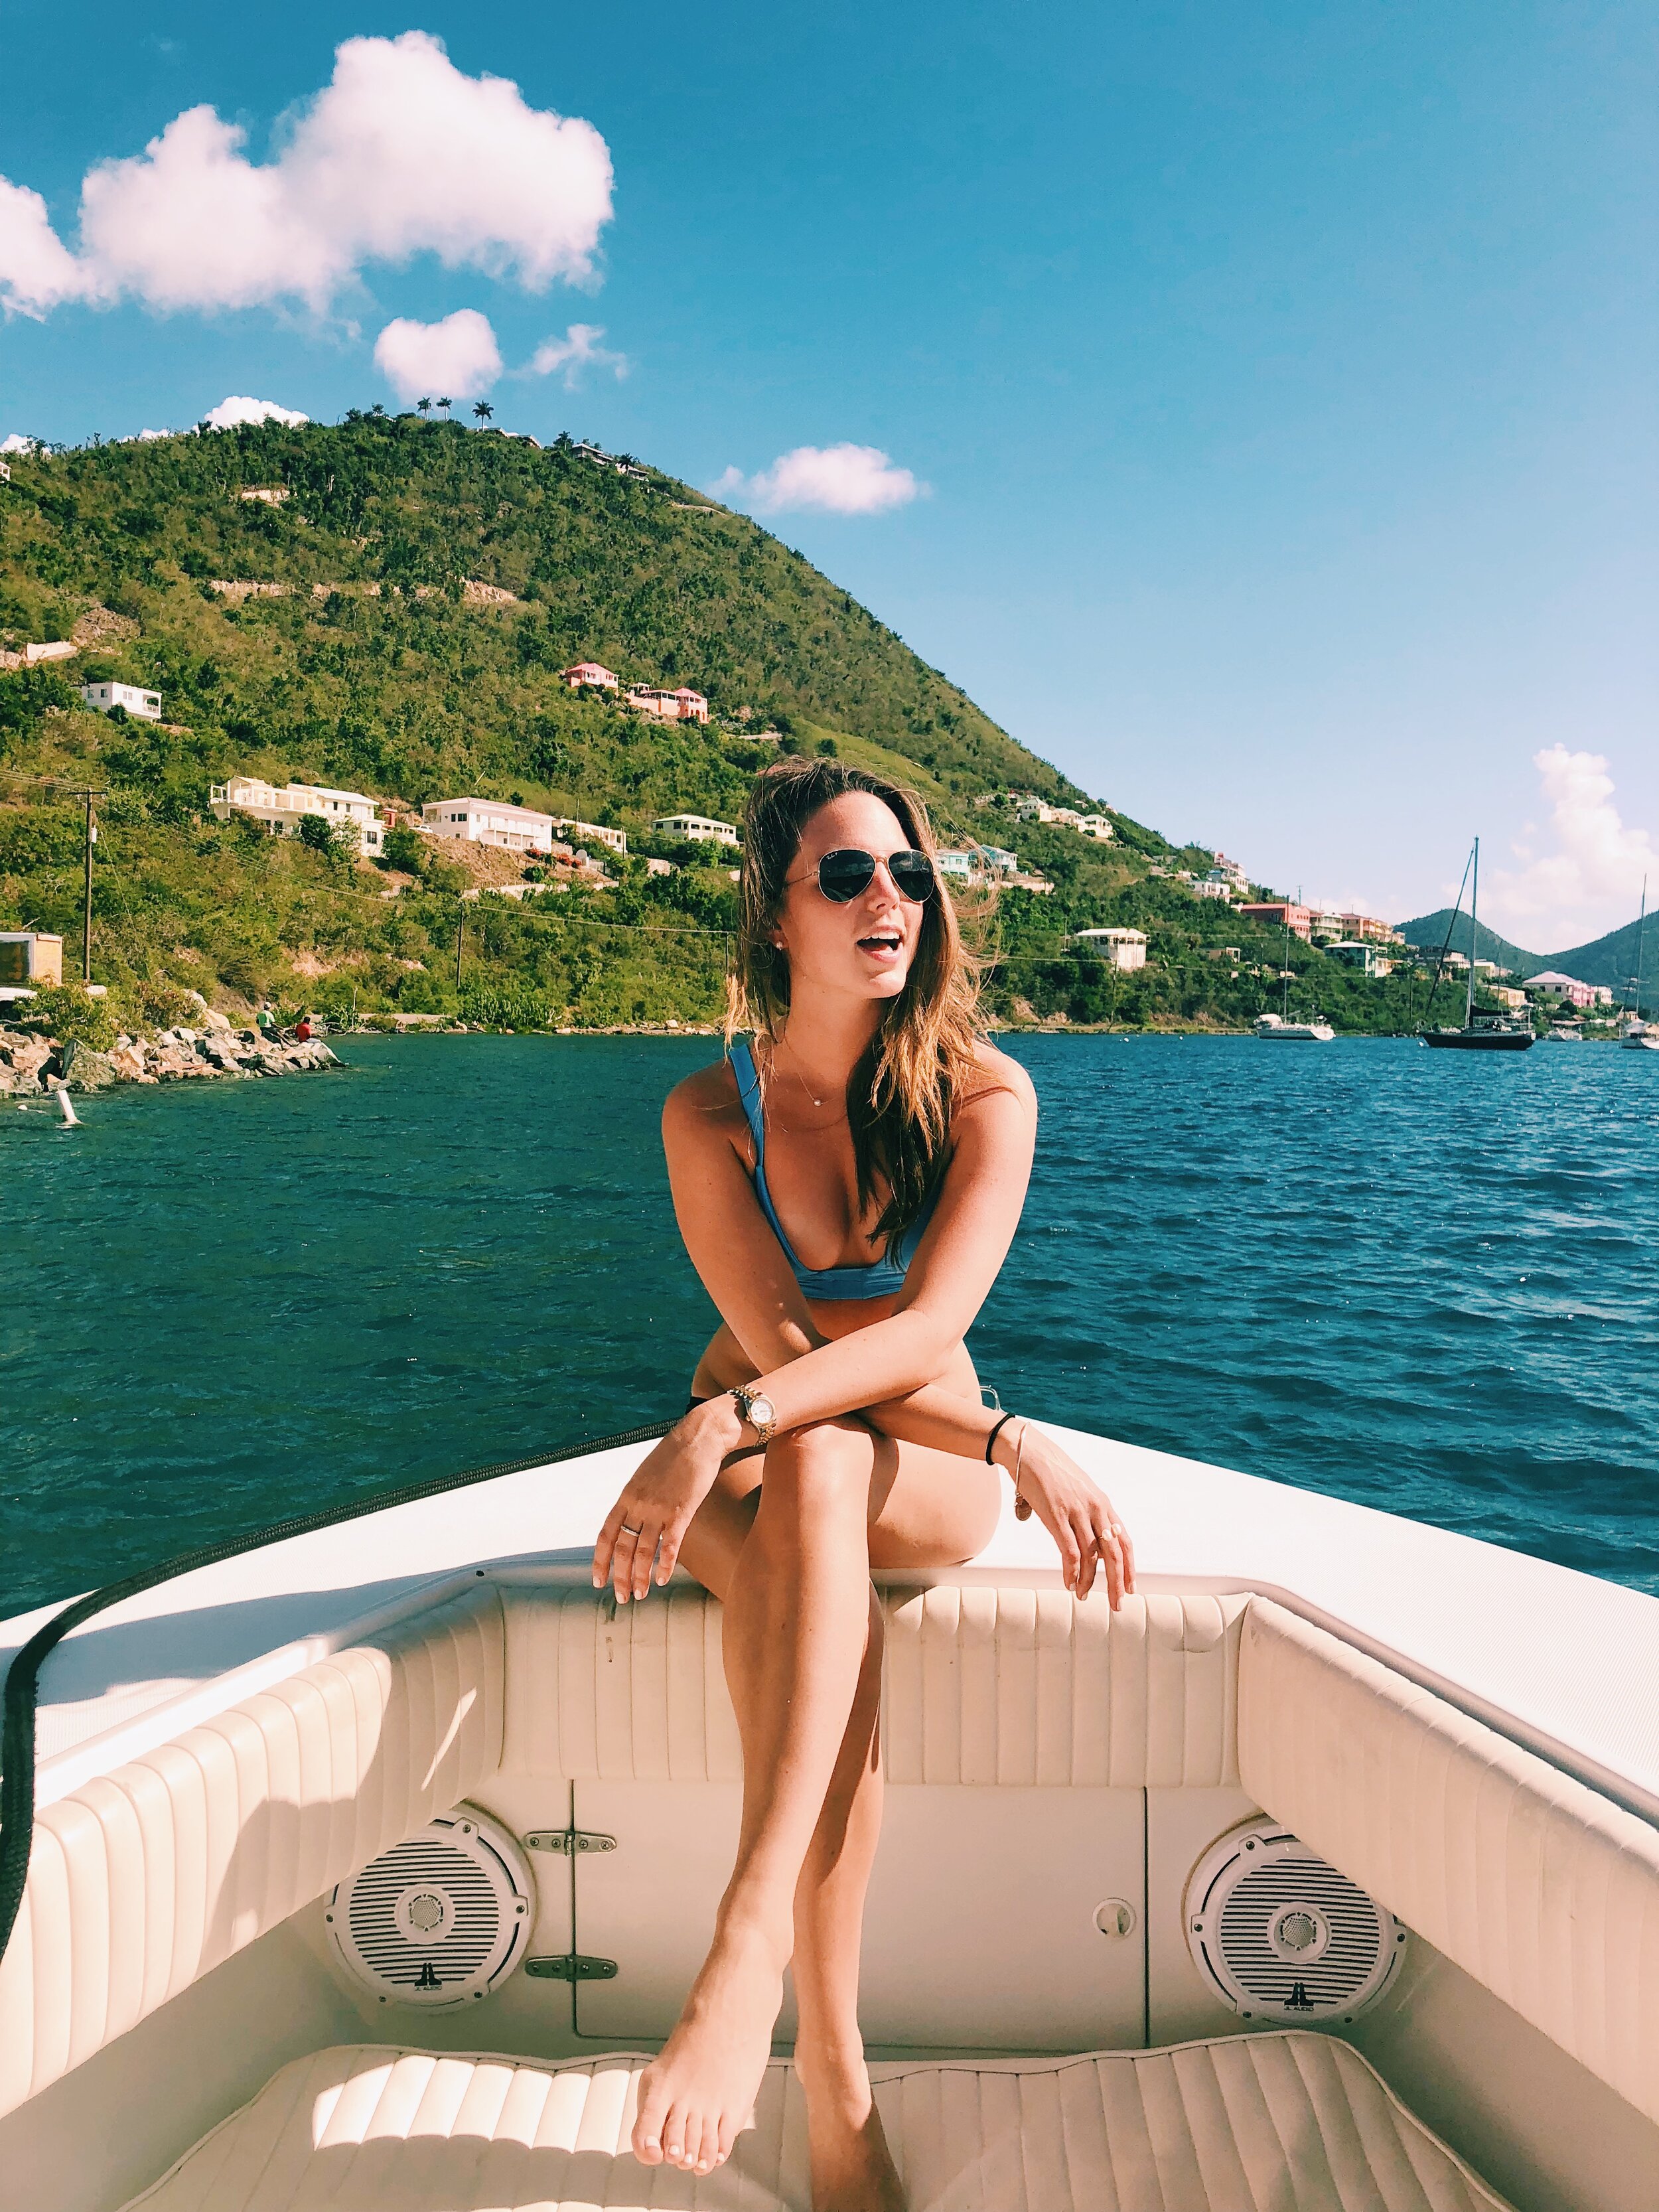
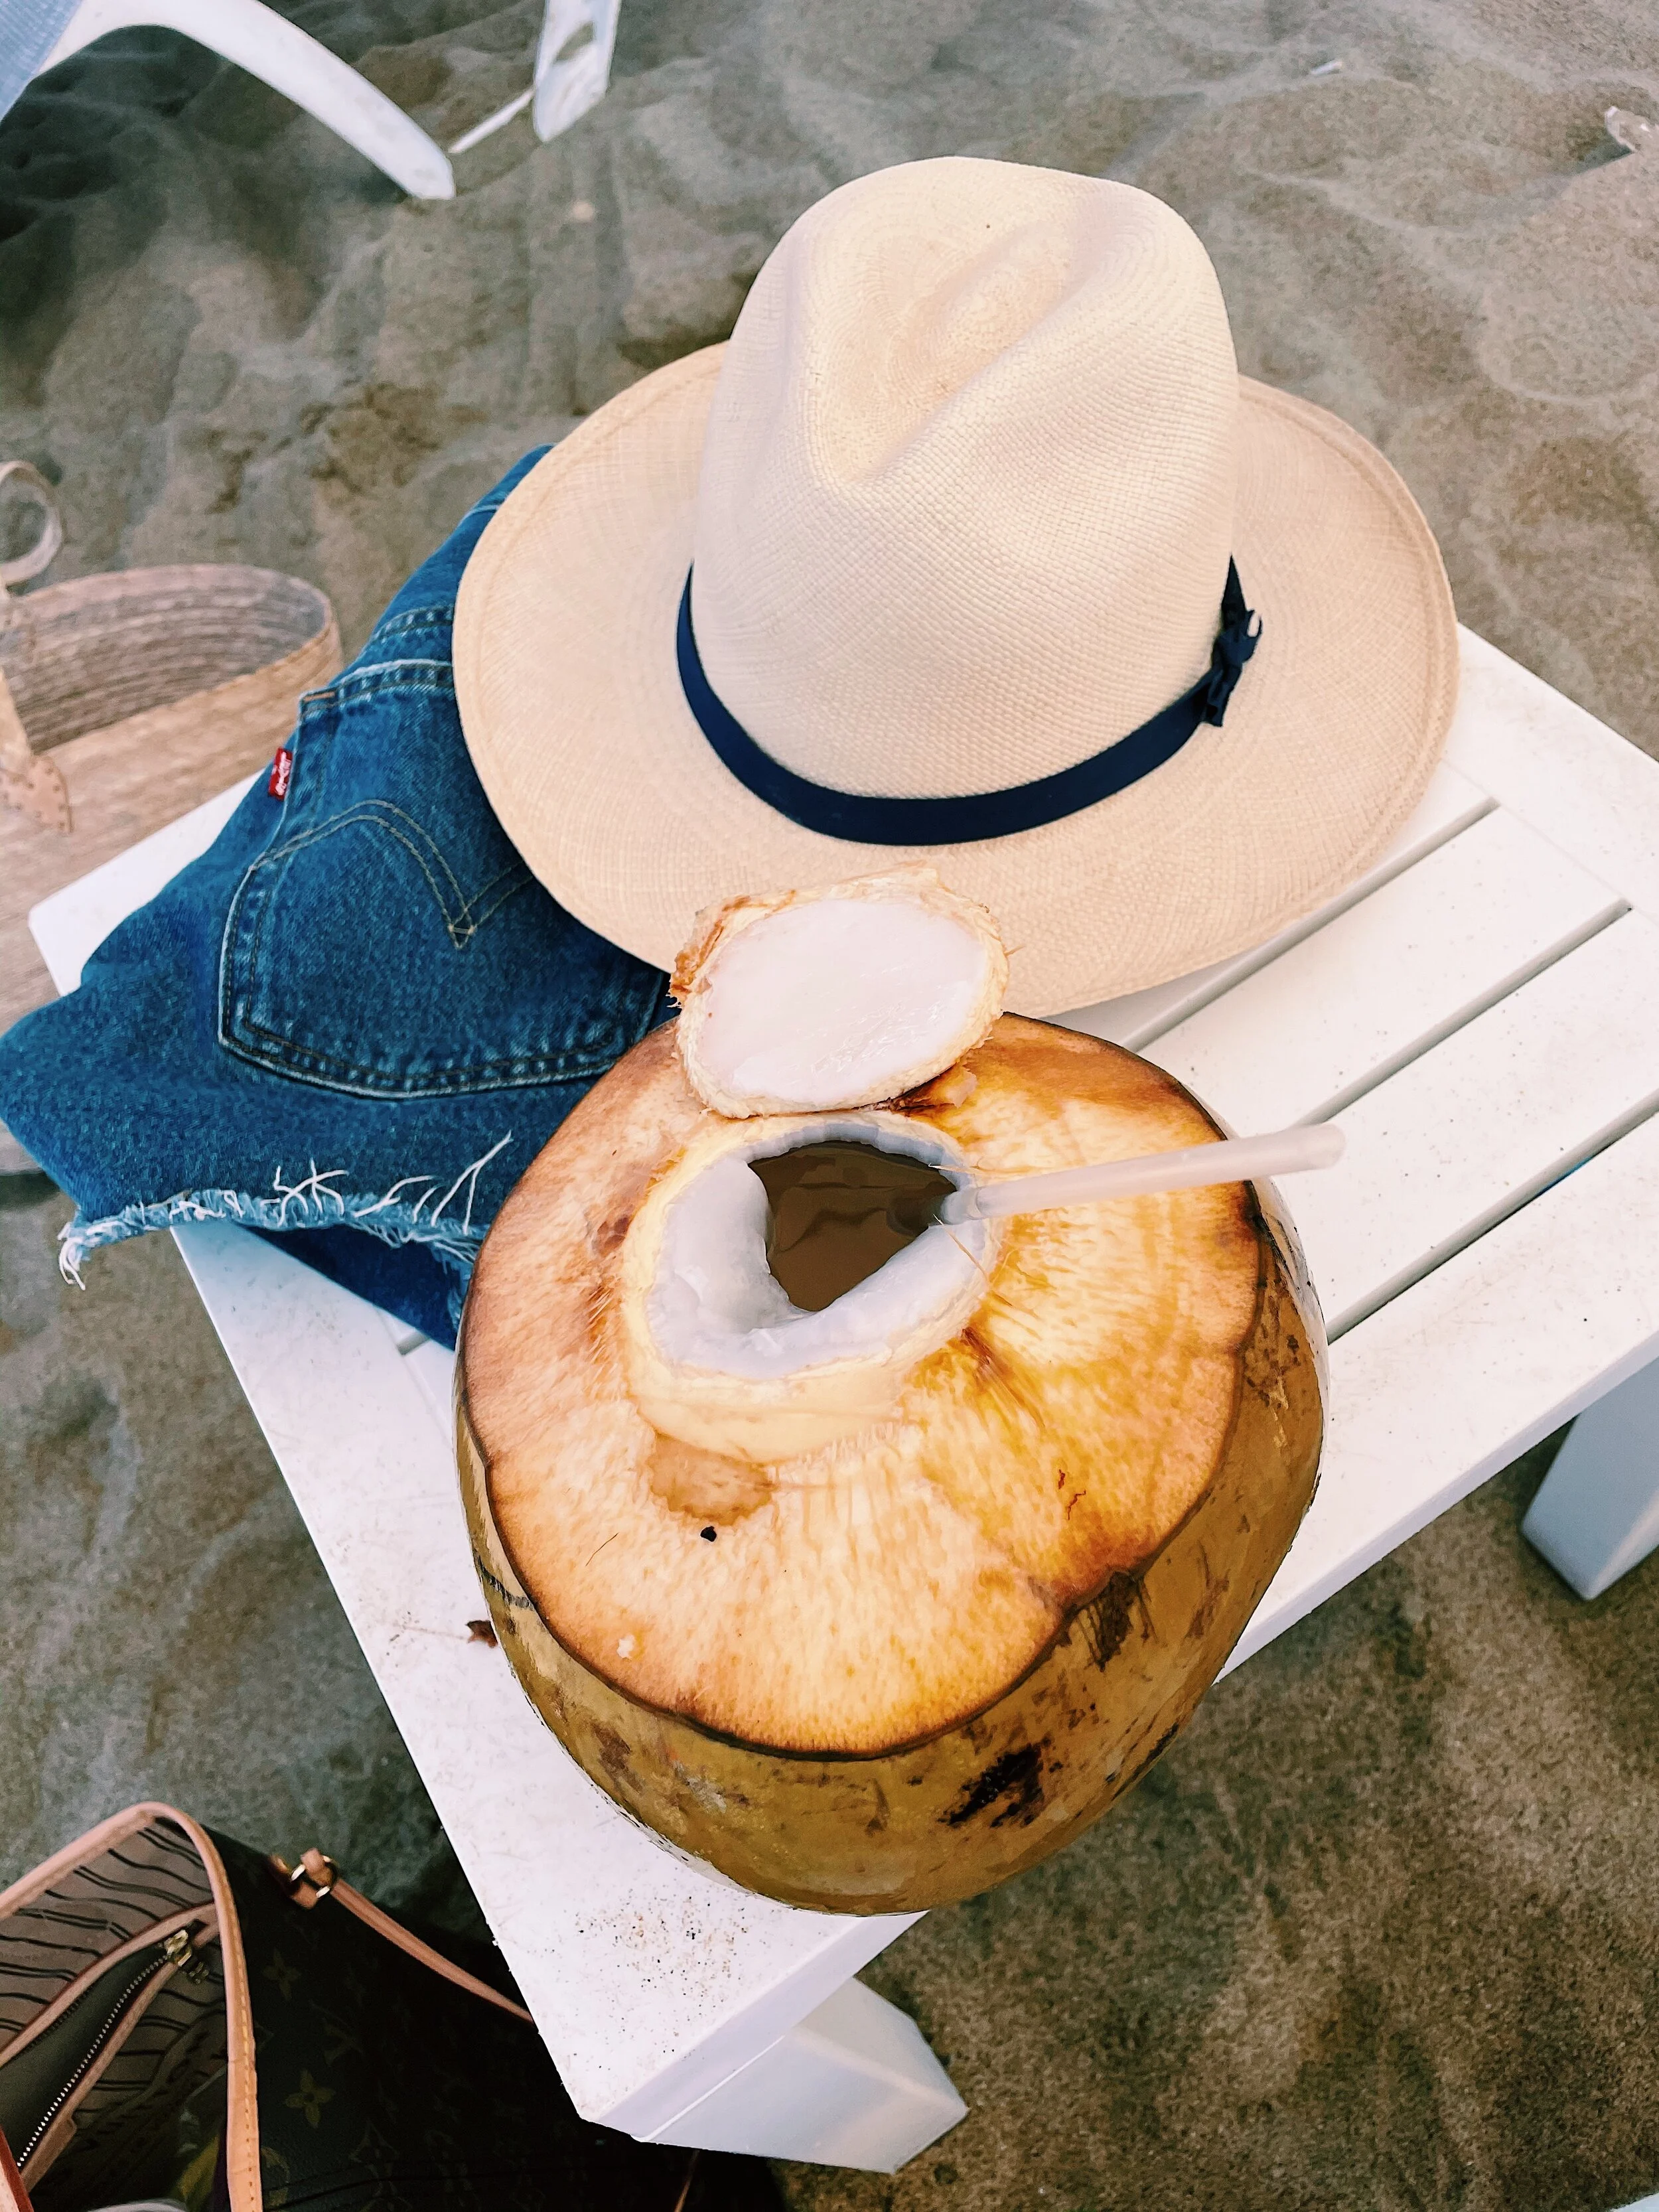
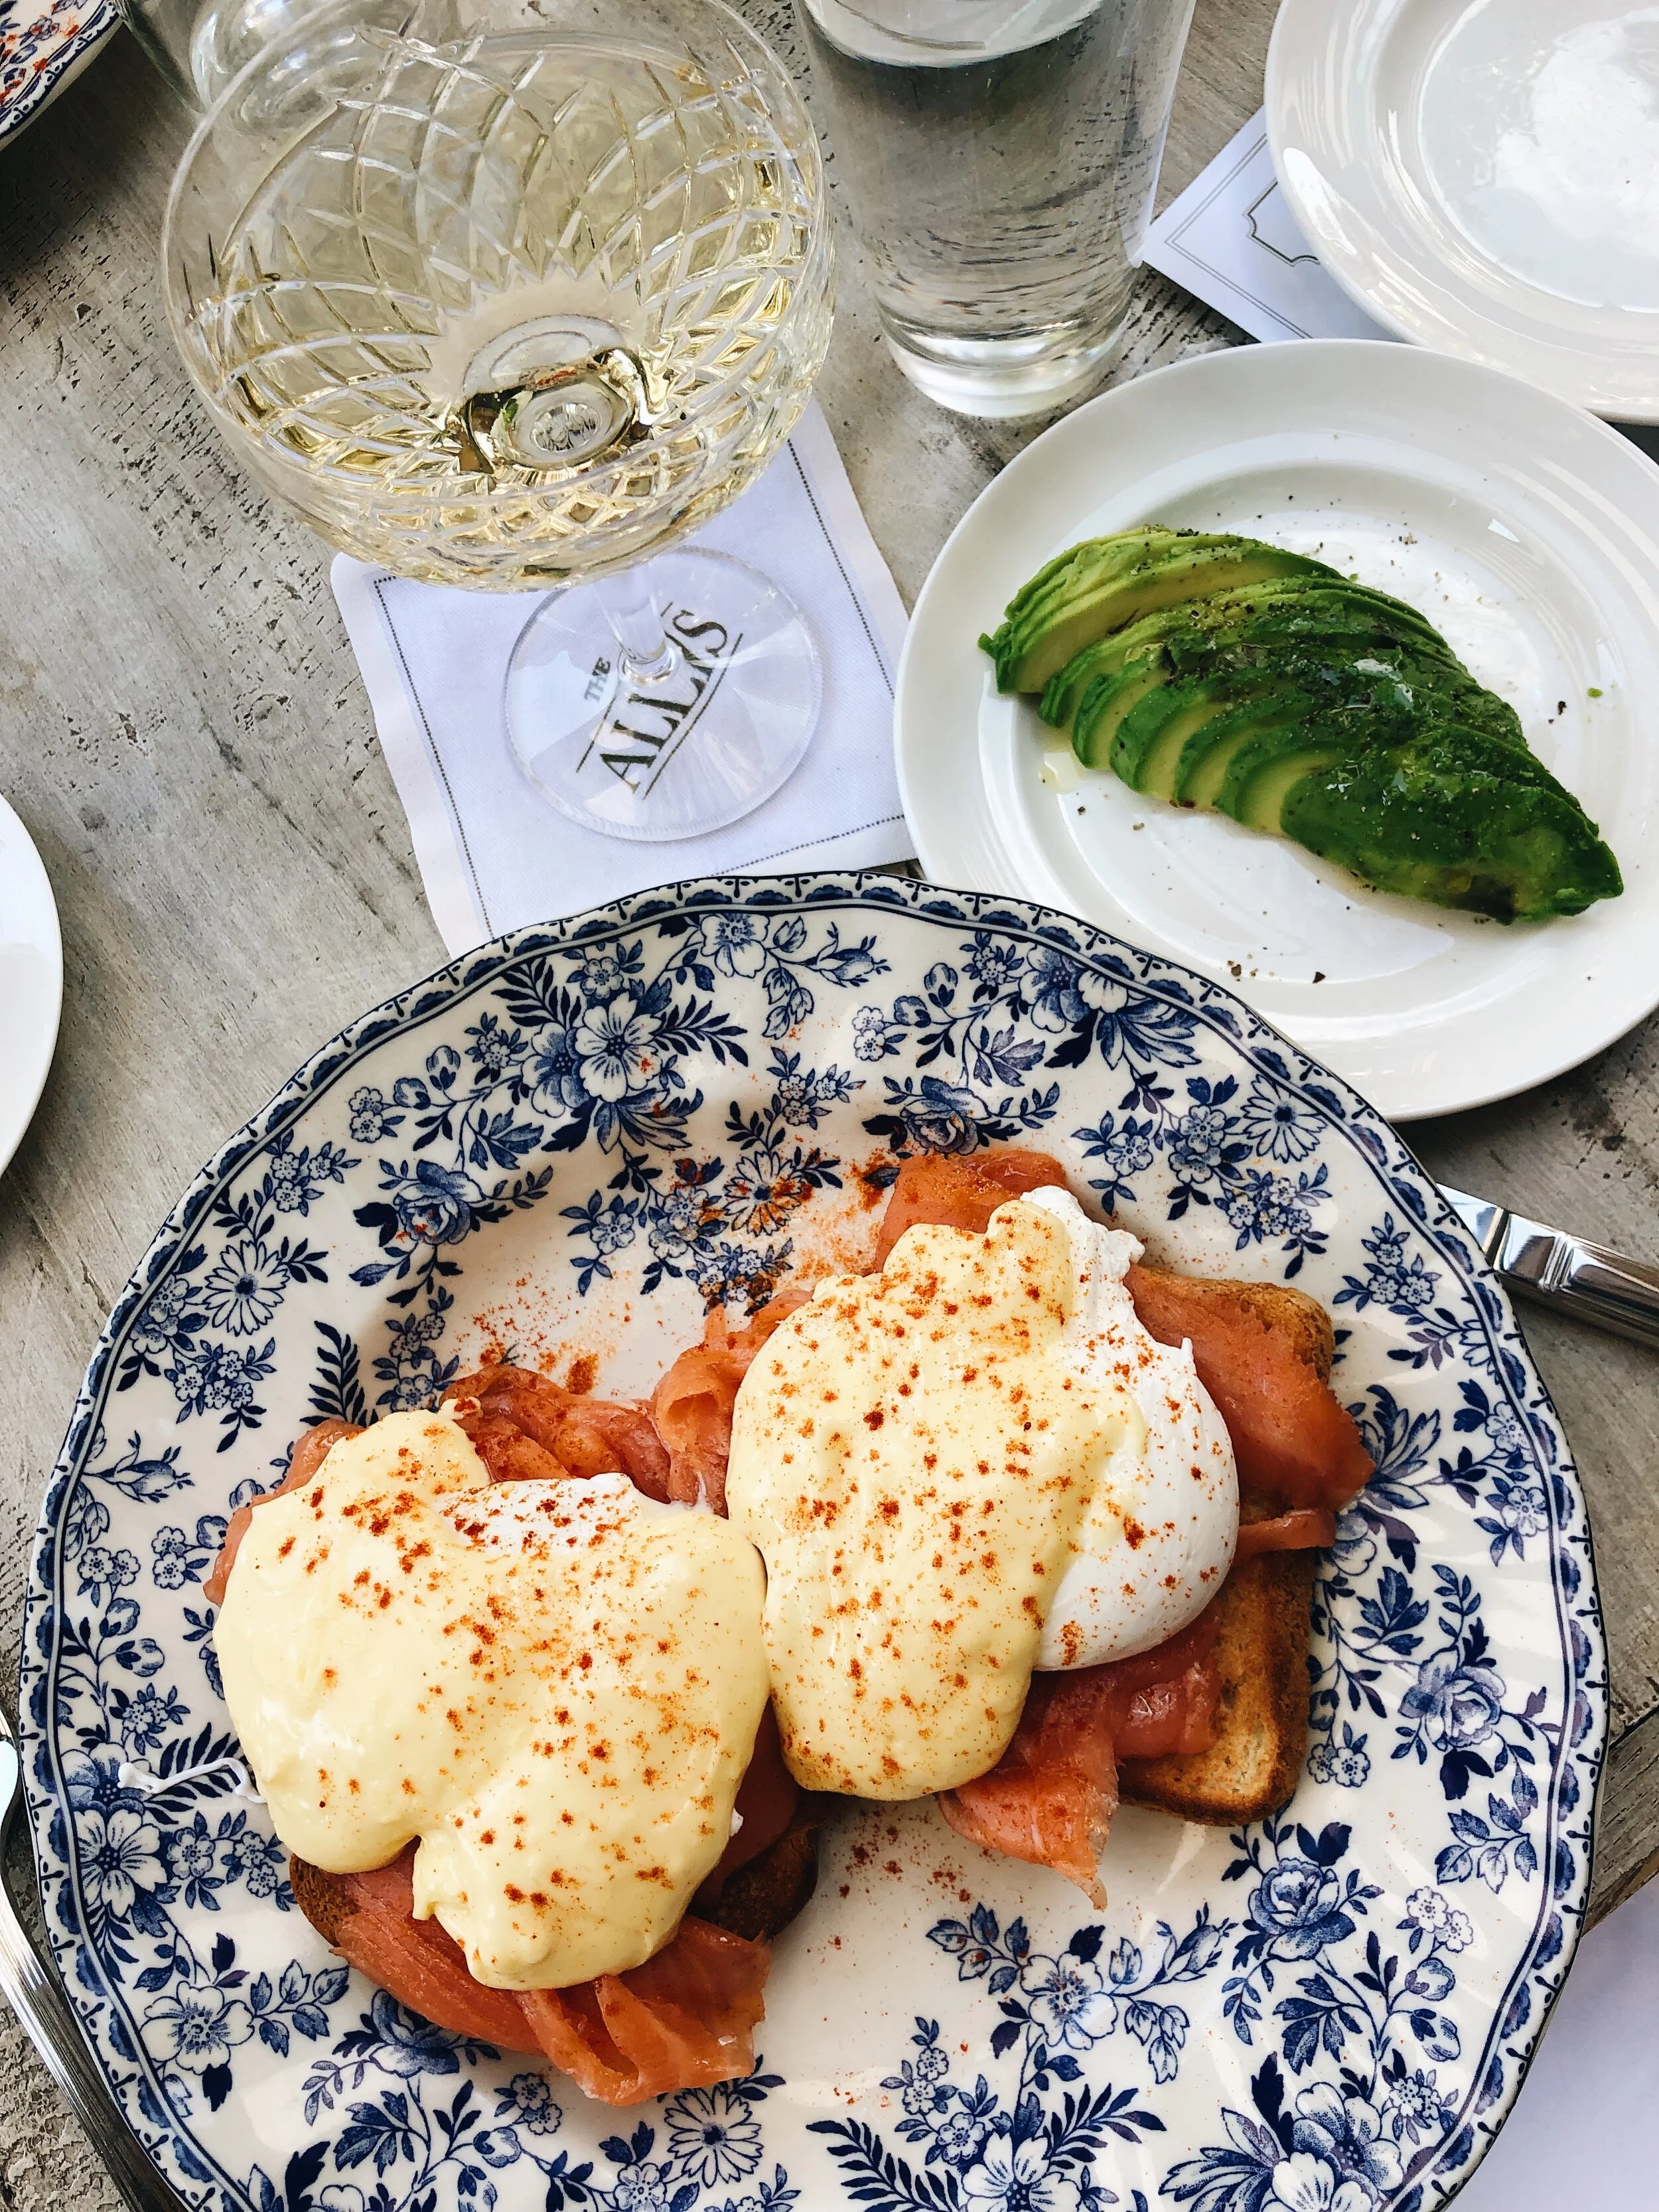
Filters: I love C1 and A6. VSCO has so many great options, but I always love these two. C1 for anything beach (it brings out a lot of blues) and then A6 for more indoor or detail-oriented photos.
Saturation. I sometimes add a little of saturation to warm up a photo if it needs it. It’s helpful to warm up skin tones when people are in the photos. With C1 I don’t normally need to add this because that filter is already very warm.
Exposure. I don’t always use this but if a photo is particularly dark or too bright I’ll adjust it slightly.
Sharpen. Just to make the photo a bit more crisp, I usually use a bit of this.
Save to Camera Roll. VSCO also saves photos in a separate album on your iPhone so you have them all in one place.
For videos I recently learned about Tone. I don’t use this much, but sometimes I just like to slightly sharpen and warm up videos before adding them to my IG stories (I don’t usually use the filters). I find that when I post photos on IG and then a video the videos are sometimes not as crisp, so that’s why I like to sharpen them a bit on Tone.
And that’s it - super simple. Editing usually takes me a few seconds because the VSCO steps are basically programmed into my memory by now. I never use Photoshop or LightRoom or any applications to cut out unwanted background or blemishes. I expect I will in the future, but for now that stuff never bothers me and I just usually try to crop it out when I’m taking photos.
Hopefully this is helpful - Happy Editing!
xx Em